

How To Draw A Cubist Portrait
Easy How to Draw a Cubism Portrait Tutorial and Cubism Portrait Coloring Page
posted in: 1st Grade, 2nd Grade, 3rd Grade, 4th Grade, 5th Grade, artist Picasso, Drawing, Easy How to Draw Tutorials, Kindergarten, Markers, People, Sharpies |
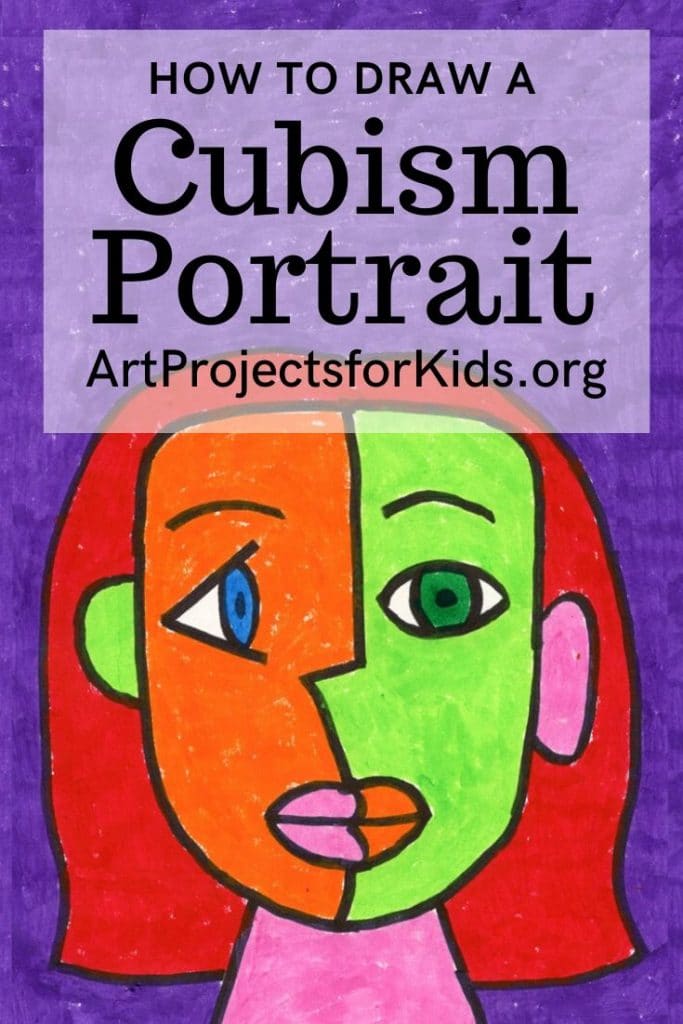
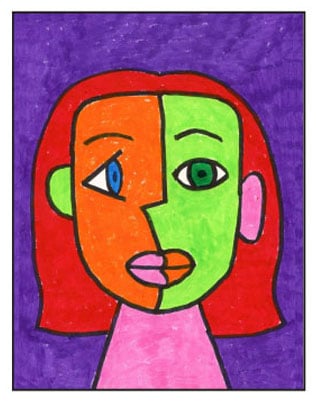
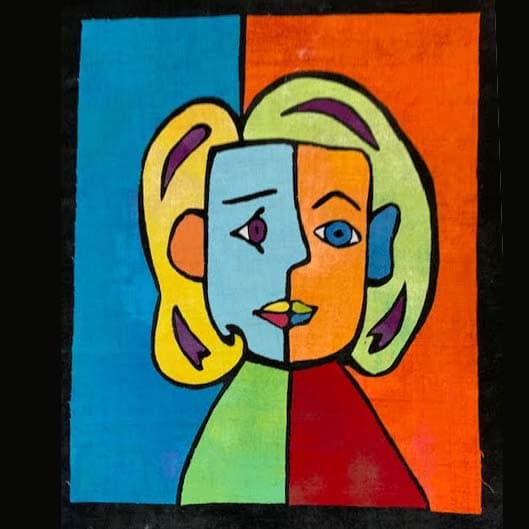
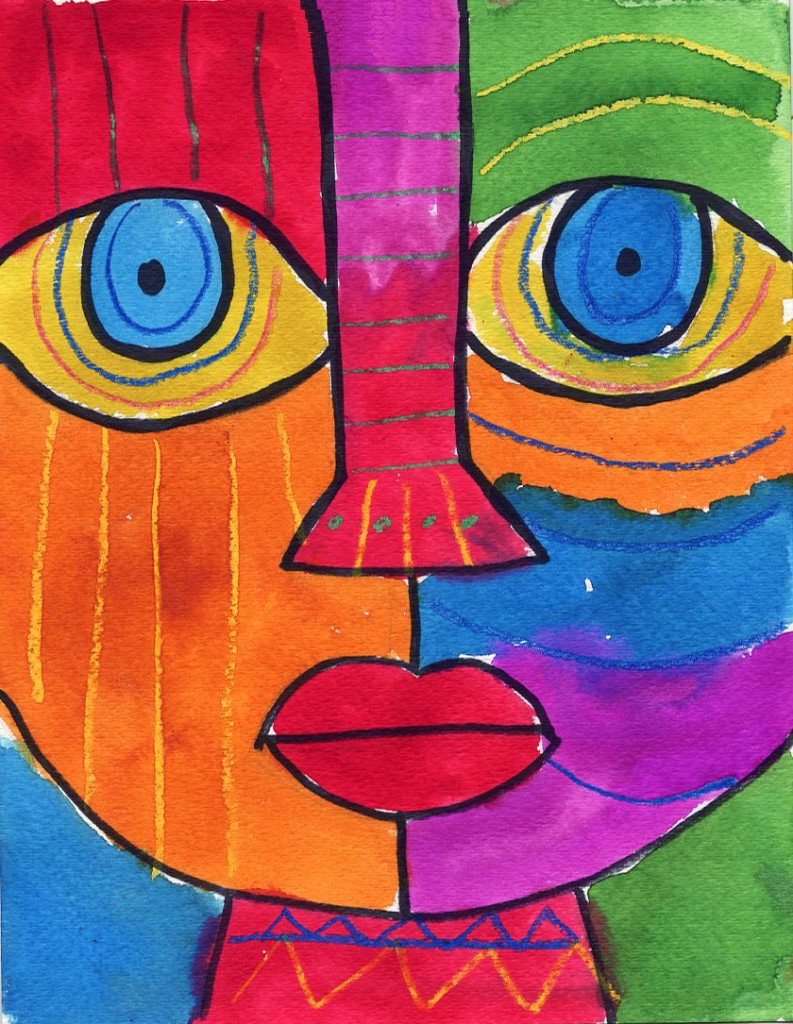
There's more than one way to draw a cubism portrait. This project uses bright bold markers to finish the two-sided look of a classic cubism face.
There are lots of long-winded explanations of what cubism is, but I like to boil it down to the idea that it's seeing two sides of one thing at the very same time.
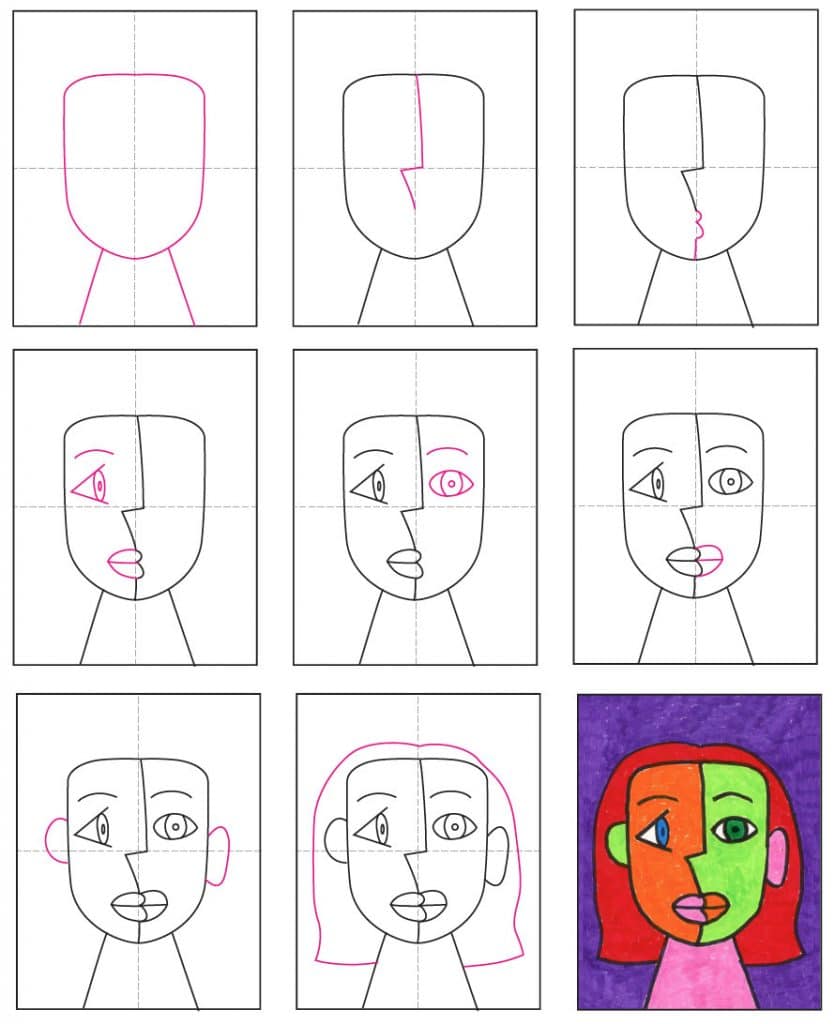
One of the easiest ways for students to try out that idea is to have them draw a face, with a cubism approach applied to it. One side is drawn in profile view, and one is straight forward. And if you make the dividing line run from the top of the face to the bottom, you get closed shapes that can easily be colored differently to emphasis the look.
This drawing can look great in all kinds of media, I just prefer one that lets your colors be as bright and bold as possible. Mr. Sketch Markers are a fun to work with, but in the end it's also about the time and care that is taken while coloring. The more carefully things are filled in, the better (no scribbles!).
Pin me to your Pinterest Board
More Cubism Project Ideas
-
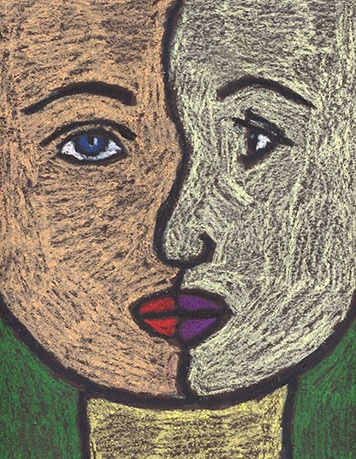
Cubism + oil pastels -
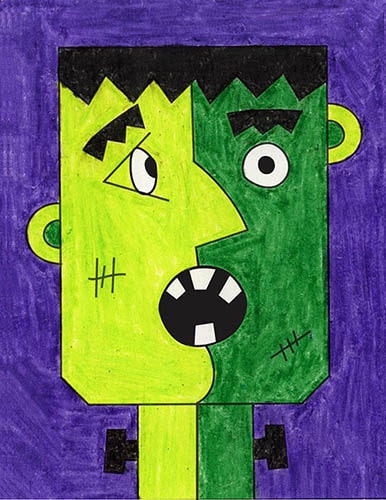
Cubism + Frankenstein -
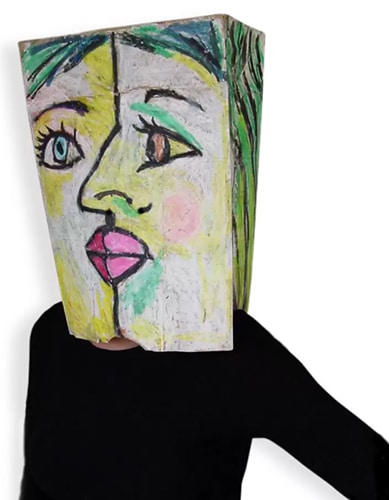
Cubism + grocery bag
Use Button below to Download a PDF Tutorial
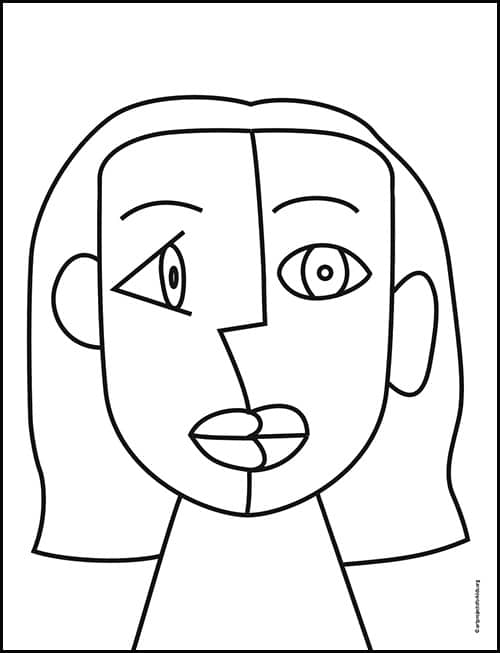
Cubism Portrait Coloring Page
Materials for How to Draw a Cubism Portrait
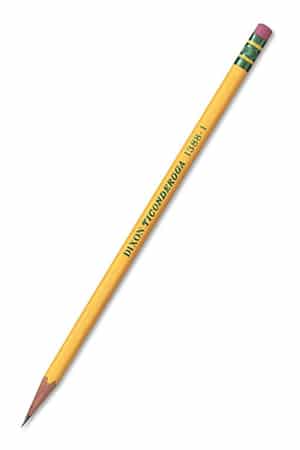
- Pencil. The Ticonderoga brand are the most reliable, make nice dark lines when you need them, and are the easiest to erase. Buying the pre-sharpened ones will save busy teachers a lot of time.
- Eraser. Large ones you can hold in your hand do a much better job than just the pencil tip erasers, especially when erasing leftover pencil lines after tracing.

- Black Sharpie Marker. These fine point permanent marker pens make nice black outlines, have a good tip for coloring, and never bleed when they get wet. Use them with good ventilation and add extra paper underneath to protect your tables.
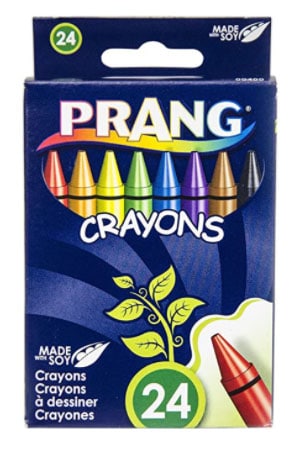
- Prang Crayons. These are a bit softer than other crayons so they sometimes look like oil pastels. They also have a some nice brown shades that Crayola does not have unless you buy their larger boxes.
- Crayola Crayons. The reliable brand that always works well. The 24 pack has some of my favorite golden orange and yellow colors that seem a bit richer and warmer than the ones Prang has.
Step by Step Directions for How to Draw a Cubism Portrait
Time needed:1 hour.
Draw a Cubism Portrait
- Make guidelines. Draw the head and neck.

- Start the nose.
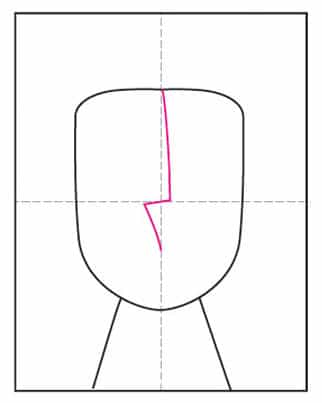
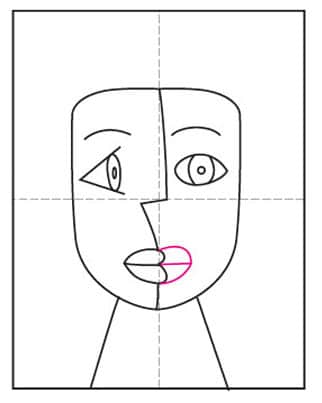
- Add the mouth and chin.
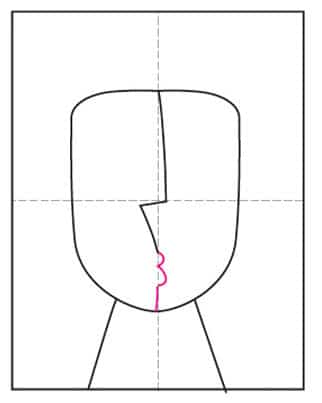
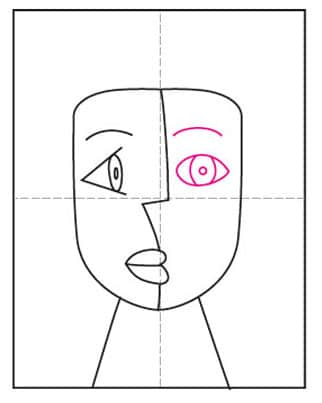
- Draw the left profile face.

- Draw the right forward looking eye.
- Add the right side lips.
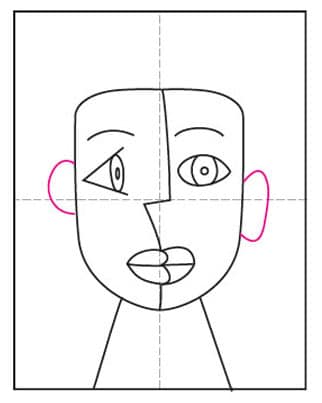
- Add two ears, they need not match.
- Draw the hair.
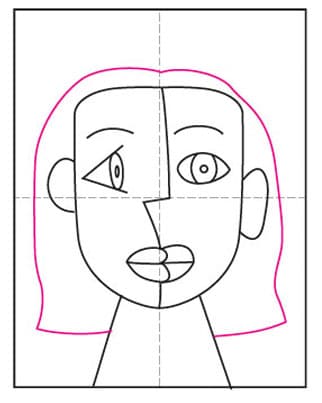
- Trace with a thick marker and color.
Reader Inspiration
More Fun Portrait Drawing Projects
How To Draw A Cubist Portrait
Source: https://artprojectsforkids.org/another-cubism-face/
Posted by: silvermangerentow1970.blogspot.com
0 Response to "How To Draw A Cubist Portrait"
Post a Comment